Follow the following steps to setup your Blogger domain name through your Bluehost account.
- Log in to your account at BlueHost.
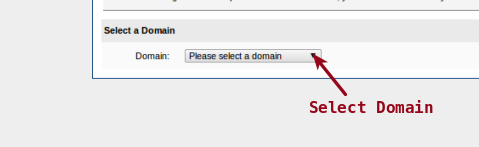
- At the control panel, click on the DNS Zone Editor which can be found under the Domains section.

- Select the appropriate domain to which you want to add A records and CNAME records.
Now add appropriate A Records in the fields provided, as shown below. You need to add the following 4 IP addresses for the A Records to configure your Blogger Domain one-by-one :
216.239.32.21
216.239.34.21
216.239.36.21
216.239.38.21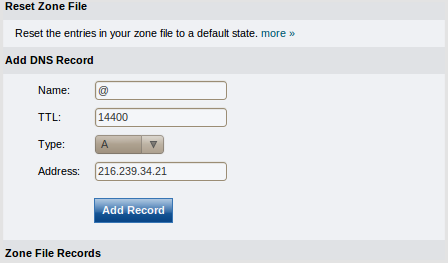
- To add the CNAME records, select CNAME from the drop down menu and enter the details of your domain. In the Name field, add the name of your domain with
www. In the CNAME field, writeghs.google.comfor linking your domain with Blogger. Add an appropriate Time-To-Live in the TTL field.
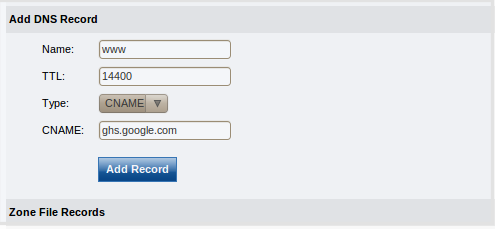
Click on Add Record to save the new configuration.
Note that it may take some time for the new A records and CNAME records to take effect. Once the changes have taken effect, you can proceed with setting up your blog on Blogger.
My blog is up and running, but I’m intermittently getting a 404 error page. Was there anything in the DNS record that I should have removed?
You need to use the NS records which will be provided by blogger (Google) in your bluehost account.
Nitun, After 2 long days of trying to configure this though 3 attendants at BH and no help from Google, found this post, thank you. I followed your fill in instructions but having the 404 error as well. What is this next step NS records please?
For which URLs you are facing 404 errors?
Thanks man
Thanks for this guide on hosting a bluehost domain on namecheap, i do really appreciate your kind gesture here. Thank You.